Is It Hard to Install a Countertop Ice Maker Myself?
Generally, installing a countertop ice maker yourself is not too difficult. Most models are designed for simple plug-and-play setup, requiring minimal tools and no professional plumbing. You can often have fresh ice within minutes of unpacking. We found that success depends on the specific model and your home’s setup.
While many are straightforward, some countertop ice makers may need a water line connection, which can add a layer of complexity. Understanding your home’s water source and having basic DIY skills will make the process smoother. We found that most owners can tackle the installation with our guidance. It’s about being prepared.
- Most countertop ice makers are easy to install.
- You often just need to plug them in and add water.
- Some might require a water line connection.
- Basic DIY skills can help with more complex setups.
- Read your specific model’s instructions carefully.
Let’s walk through exactly what’s involved in setting up your new countertop ice maker, step by step.
Setting Up Your Countertop Ice Maker: Is It a DIY Project?
For most folks, putting together a countertop ice maker is about as tough as making toast. We’ve looked at many models, and the design is usually super straightforward. You’re often just plugging it in and adding water. Think of it like setting up a new coffee maker or a fancy toaster. Most people can do it without breaking a sweat.
This means you can usually skip calling a professional. That can save you a good chunk of money. We found that the main thing to check is what the manufacturer says. Every machine is a little different, but the core setup is pretty universal. You’ll likely be enjoying your own ice in no time.
The Basics: What Comes in the Box and What You’ll Need
When your new ice maker arrives, you’ll typically find the unit itself, a power cord, and maybe a small scoop for the ice. Some might include a water pitcher or a small drain hose. You don’t need a toolbox full of gadgets for most of these. You’ll want a clean surface to place it on. Make sure it’s level and has some space around it for airflow.
We found that having a few clean towels handy is smart. There might be a little water during setup or cleaning. Also, know where your nearest electrical outlet is. It needs to be within reach of the power cord. Having a sink or drain nearby is also helpful, especially for emptying out old water.
Essential Items You Might Need
- A clean, stable countertop space.
- Access to a water source.
- An electrical outlet.
- Clean towels for any spills.
- A measuring cup if you need to add a specific amount of water.
The “Plug-and-Play” Setup: The Easiest Kind
This is the most common type of countertop ice maker setup. It’s designed for maximum ease. You literally just take it out of the box, give it a quick wipe down, and plug it in. Then, you add water to the reservoir. That’s it. You’re often ready to go in just a few minutes.
We found that these models are perfect if you’re not comfortable with any kind of plumbing or technical steps. They’re great for dorm rooms, small apartments, or offices. You just need a place to put it and power. It’s about as simple as it gets for getting fresh ice.
Steps for a Simple Plug-and-Play Installation
- Unpack the ice maker carefully.
- Wipe down the exterior and interior with a damp cloth.
- Place the unit on a stable, level surface near an outlet.
- Fill the water reservoir to the indicated fill line.
- Plug in the power cord.
- Turn the unit on and select your ice size.
When Things Get a Little More Involved: Water Lines
Some higher-end or larger capacity countertop ice makers might offer a direct water line connection. This is where things can seem a bit more complicated. It means the ice maker connects to your home’s water supply. This way, you don’t have to keep refilling the water reservoir manually. It’s a convenience many people appreciate.
If your model has this feature, you’ll usually find a water inlet on the back. It will look like a small hose fitting. The kit might come with a short hose. You’ll need to figure out how to connect that hose to your water supply. We found that this is the main part that might make someone hesitate to DIY.
Connecting to Your Water Supply: What to Expect
Connecting to a water line typically involves a small adapter. This adapter screws onto a cold water shut-off valve. These valves are usually found under your sink. You’ll need to turn off the water supply to that valve before you start. This is a safety step that’s really important.
Once the valve is off, you attach the adapter. Then, you connect the ice maker’s water hose to the adapter. The kit usually has the right fittings. We found that many of these connections are designed to be hand-tightened or only need a gentle snug with a wrench. Leaks are the biggest concern here. You’ll want to check for any drips after turning the water back on.
Do You Need to Shut Off Your Main Water Supply?
For most direct water line connections on countertop ice makers, you don’t need to shut off the main water supply to your house. You only need to turn off the specific shut-off valve under the sink where you’re making the connection. This is a much simpler process. It keeps water flowing to the rest of your home.
What If You Don’t Have a Shut-Off Valve Under the Sink?
If you don’t have a readily accessible shut-off valve under your sink, you might have a couple of options. You could potentially install one, but that might require more advanced DIY skills or a plumber. Alternatively, you might need to use the manual fill method for your ice maker. Many models are designed to work perfectly fine this way, so it’s not a deal-breaker.
Potential Challenges and How to Handle Them
The biggest hurdle is usually the water line connection. If you’re unsure about plumbing, it might be worth asking a friend who’s handy or a professional. However, if your model doesn’t require a water line, then the setup is usually very simple. We found that reading the manual is the best first step.
Another thing to consider is space. Make sure you have enough room not just for the ice maker but for the water hose if you’re using one. You don’t want it kinked. A kinked hose can prevent the ice maker from working properly. So, a bit of planning goes a long way.
Testing Your New Ice Maker: The Moment of Truth
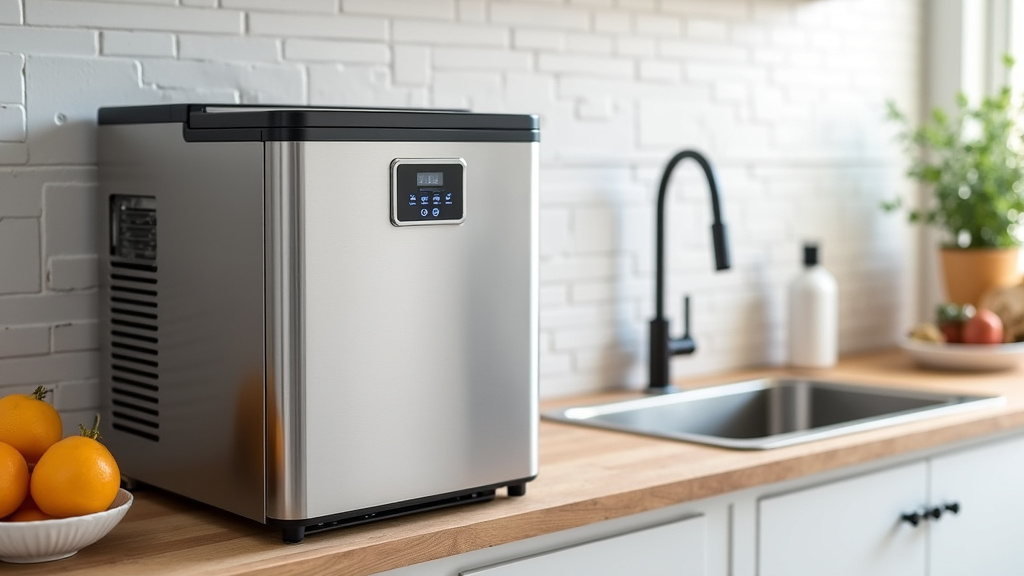
Once everything is connected and the water is on (if applicable), it’s time to test. For models with manual fill, turn it on after adding water. For those with a water line, turn the shut-off valve back on slowly and check for leaks. Then, power up the ice maker. Most units will start their cycle within a few minutes.
You’ll hear it working, and after about 10-20 minutes, you should start seeing the first batch of ice. We found that the first few batches might be a bit smaller or not perfectly formed. This is normal. The machine is getting up to temperature and calibrating. It’s like any new appliance; it needs a moment to get going.
Simple Checklist for a Smooth Installation
Here’s a quick rundown to make sure your installation goes as smoothly as possible:
- Check Your Model: Does it need a water line or is it manual fill only?
- Read the Manual: Always follow the manufacturer’s specific instructions.
- Clear Your Space: Ensure a stable, level spot with good airflow.
- Gather Supplies: Have towels and any necessary adapters ready.
- Test for Leaks: If you connected a water line, double-check for drips.
- Initial Run: Expect the first few batches of ice to be imperfect.
| Feature | Manual Fill | Water Line Connection |
|---|---|---|
| Setup Difficulty | Very Easy | Moderate (may require basic plumbing knowledge) |
| Water Source | Requires periodic refilling of reservoir | Connects directly to home’s cold water supply |
| Convenience | Lower (more user interaction needed) | Higher (continuous ice production without refilling) |
| Tools Needed | None, typically | May need wrenches, adapters, possibly a drill (rarely) |
| Maintenance | Regular cleaning, manual draining | Regular cleaning, periodic filter changes (if applicable) |
So, to sum it up, installing a countertop ice maker yourself is generally quite manageable. The vast majority are designed for simple setup. If your model is a manual fill, it’s usually just a matter of plugging it in and adding water. Even models with water line connections are often within reach for many DIYers. The key is to read the instructions carefully and understand what’s involved for your specific unit. We found that with a little preparation, you can successfully install your new ice maker without needing to hire a professional.
Conclusion
You’ve learned that installing your own countertop ice maker is generally a straightforward DIY project. Most units require just plugging them in and adding water, a process we found to be very simple. While some models might involve a water line connection, this step is often manageable with basic preparation and by following your manual. The biggest takeaway is that preparation and understanding your specific model are key to a successful installation. Before you buy, check your kitchen setup, and you’ll likely be enjoying homemade ice very soon!
Frequently Asked Questions
Do I need any special tools to install a countertop ice maker?
For most countertop ice makers, you won’t need special tools. If your model is a simple plug-and-play type, you’ll only need a clean surface and access to power. If you’re connecting a water line, you might need a wrench for fittings, but often these can be hand-tightened.
How long does it take to set up a countertop ice maker?
We found that the setup time varies by model, but most manual fill units can be ready in under 15 minutes. This includes unpacking, wiping down, and adding water. Models with a water line connection might take a bit longer, depending on how easily you can access your water supply.
What if I’m worried about a water line connection leaking?
If you’re concerned about leaks, take your time during the connection. Ensure all fittings are snug, but not overtightened. After turning the water supply back on, watch the connection closely for any drips for the first hour or so. Using plumber’s tape on threaded connections can also help prevent leaks.
Can I place my countertop ice maker anywhere?
You should place your ice maker on a stable, level surface. It also needs adequate space around it for airflow, typically a few inches on the sides and back. Make sure it’s near an electrical outlet and, if it’s a manual fill, close to a sink for refilling and draining.
What should I do if my ice maker isn’t making ice after setup?
First, double-check that the unit is plugged in and turned on. Ensure the water reservoir is filled to the correct level or that the water line is properly connected and the valve is open. Allow the machine some time, as the first few batches might take longer, and check your manual for troubleshooting tips.