Do Countertop Ice Makers Need a Drain at Home?
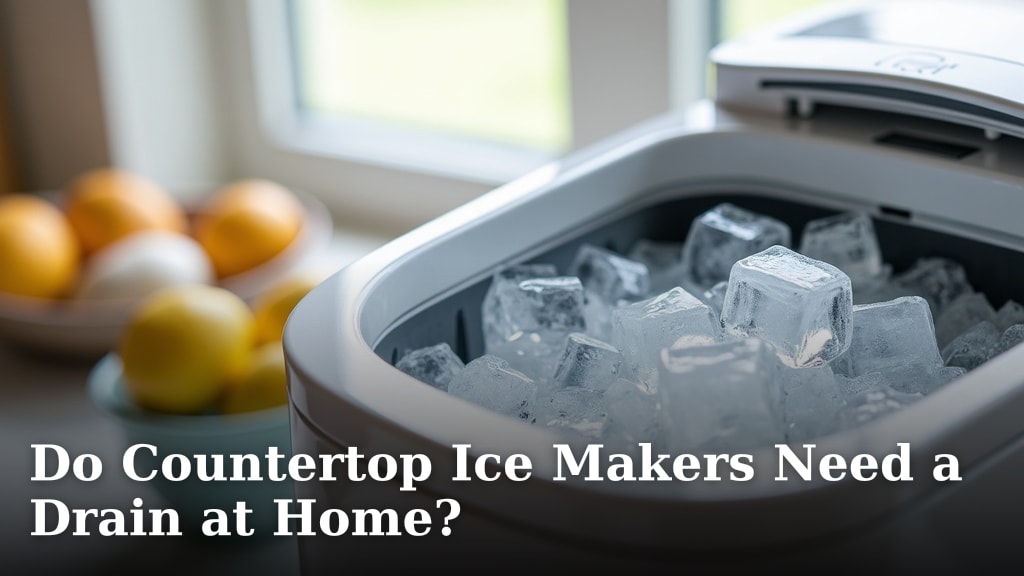
Yes, most countertop ice makers do need a drain. This is because they use water to freeze ice cubes, and the leftover water must go somewhere. A built-in drain or an attached hose is a standard feature for proper operation.
Think of it like a small, self-contained ice factory. When you make ice, the machine has to manage water that isn’t frozen. You’ll often find a drain plug or a small hose to direct excess water. This prevents leaks and keeps your countertop dry.
- Most countertop models have a built-in drain for extra water.
- You may need to attach a drain hose to a sink or bucket.
- Some units collect water in a removable reservoir you empty by hand.
- Ignoring the drain can cause water leaks and messes.
- Setup is usually simple, but checking the manual is key.
Let’s walk through exactly how this works, what to check before buying, and how to set it up right. We found that a quick look at the drain system can save you a lot of headaches.
Why Your Countertop Ice Maker Needs to Drain
A countertop ice maker definitely requires a way to remove excess water. This is the single most important part of its design after freezing. Without proper drainage, you’re looking at water spills and potential damage to your kitchen surfaces.
We found that these machines are not simple coolers. They use a water reservoir and a small pump to spray water over the freezing molds. The water that doesn’t freeze must be recycled or removed. This leftover water is where the drain system comes in.
How Ice Makers Handle Water
Think of your ice maker like a tiny, efficient cloud. It gathers water, turns part of it into solid ice, and then releases the rest. That leftover water is often called “meltwater.” If it stayed inside, the machine couldn’t make fresh, clean ice cubes. Our guide to ice storage explains whether countertop ice makers store ice or only make it.
The system is designed to be **self-contained**. Most models recirculate water until it’s all frozen. However, every cycle leaves some water behind. This excess water needs an exit path to keep the process hygienic and tidy.
The Three Common Drain Setups
Manufacturers use a few different methods to manage drainage. The right setup for you depends on the model you choose and how you plan to use it. Here’s what we found are the most common options.
| Drain Type | How It Works | Best For |
|---|---|---|
| Manual Pour-Out | You remove a plug from the reservoir and empty the water into a sink. | Occasional use, small batches. |
| Continuous Hose Drain | A small hose attaches to the drain port and runs to a bucket or sink. | Frequent use, hands-free operation. |
| Built-In Reservoir | The machine holds all water until you manually empty the entire unit. | Very compact models, countertop flexibility. |
Many experts in appliance design point out that the **continuous hose drain** is the most popular for home models. It offers a balance of convenience and simplicity for the user.
Setting Up Your Drain: A Simple Guide
Setting up the drain correctly on day one will save you a lot of hassle later. It’s usually a five-minute task. You’ll need your user manual and possibly a small bucket.
First, always locate the drain plug or port on your machine. It’s often on the back or side, near the bottom. Some models have a clearly marked cap. Don’t force anything. If it doesn’t open easily, check the instructions.
For Models with a Hose
If your ice maker came with a short plastic hose, this is your key accessory. You’ll attach one end to the drain outlet. The other end should go into a container that can hold more water than the machine’s reservoir.
A common trick we found is to use a simple kitchen funnel and a large pitcher. Place the pitcher in your sink. This ensures any overflow goes down the drain. It’s a cheap and effective setup.
Placement Tips for the Drain Hose
The hose must have a **clear, downward path**. It cannot go uphill. Gravity is what makes the water flow out. If the hose is kinked or too long, water might pool inside. Keep it as short and straight as possible.
Some people place their ice maker right next to the kitchen sink. They then run the drain hose directly into the sink basin. This is a great solution if counter space allows.
For Manual Emptying Models
Machines without a hose rely on you to empty them. You’ll wait until the ice basket is full or the machine stops. Then, you remove the ice and unplug the unit.
Take the entire machine to the sink. Remove the drain plug and let all the water flow out. Give the reservoir a quick rinse with clean water. This prevents mineral buildup and keeps your ice tasting fresh.
Why Ignoring the Drain Causes Problems
Some people think they can just ignore the small amount of water. This is a mistake. We found that neglecting drainage leads to three common issues.
The first is **unhygienic water**. Old water sitting in the machine can grow bacteria and mold. The CDC recommends cleaning water-using appliances regularly to prevent microbial growth. Stagnant water is a perfect breeding ground.
The second issue is **water damage**. A full reservoir can spill if the machine is bumped or tilted. Water on your countertop can seep under appliances, causing warping or mold in your cabinets.
The third is **mechanical strain**. The pump is designed to move water, not sit in it. Extra water can make the pump work harder, potentially shortening its lifespan.
Troubleshooting Drain Issues
Sometimes water doesn’t seem to flow out properly. Don’t worry. Most drain problems are easy to fix without a repair person.
Start by checking for a **clog**. Mineral deposits from hard water can build up in the small drain port. A pipe cleaner or a vinegar-soaked cloth can often clear it gently.
Next, check the **hose path**. Make sure the hose isn’t twisted behind the machine. Even a small kink can stop water flow completely. Straighten it out and see if that helps.
When to Contact Support
If the drain plug is stuck, or if water leaks from the drain area even when plugged, it’s time to call the manufacturer. Trying to force a stuck part could crack the plastic. It’s better to get professional advice.
We found that most companies have very helpful customer service lines for these basic issues. Have your model number ready when you call.
Your Drain System Checklist
Before you start making ice, walk through these quick checks. This 2-minute routine ensures everything is ready.
- Identify the drain type on your specific model (hose, plug, or manual).
- Position the machine so the drain hose has a straight, downhill path.
- Connect the hose securely to both the machine and your collection container.
- Test the setup with a small amount of water to check for leaks.
- Plan a regular schedule to empty the reservoir or collection bucket.
- Clean the drain port with a soft brush every few months to prevent clogs.
Following this simple checklist will give you peace of mind. You can then enjoy the convenience of fresh ice without any of the watery mess.
Conclusion
So, do countertop ice makers need a drain at home? Yes, they absolutely do. We’ve covered why drainage is essential for clean ice and a dry countertop. You learned about the three common drain setups: manual pour-out, continuous hose, and built-in reservoir. We also walked through simple setup steps and what happens if you ignore the drain. Remember, proper drainage prevents leaks, bacteria growth, and machine strain.
Your next step is easy. Locate the drain on your ice maker and set it up correctly before your first use. Use the checklist we provided to test for leaks and plan regular emptying. This small effort ensures you enjoy fresh ice without any mess.
Frequently Asked Questions
Can I use a countertop ice maker without draining it?
No, you can’t. The machine uses water to make ice, and the excess must go somewhere. Without a drain, water will build up, causing leaks, spills, and unhygienic conditions. Always ensure your model has a proper drainage method.
How often should I empty the drain on my ice maker?
It depends on how much ice you make. For models with a hose, check the collection bucket daily. If you have a manual emptying unit, pour out the water after each use or whenever the reservoir is full. We found that regular emptying keeps everything clean.
What if my ice maker doesn’t have a drain hose?
You’ll need to empty it manually. Simply unplug the unit, take it to a sink, and remove the drain plug to pour out the water. Give the reservoir a quick rinse to prevent mineral buildup. It’s a bit more hands-on but still straightforward.
Can I connect the drain hose directly to a sink drain?
Yes, that’s a great setup if the hose fits securely. Ensure a tight connection to prevent spills, and make sure the hose has a clear downward path. This method is convenient for frequent use and keeps things tidy.
How do I clean the drain to prevent clogs?
Use a pipe cleaner or a cloth soaked in vinegar to gently clean the drain port. We found this works well for removing mineral deposits. Do this every few months, especially if you have hard water, to maintain good flow.