Do Countertop Ice Makers Need Maintenance?
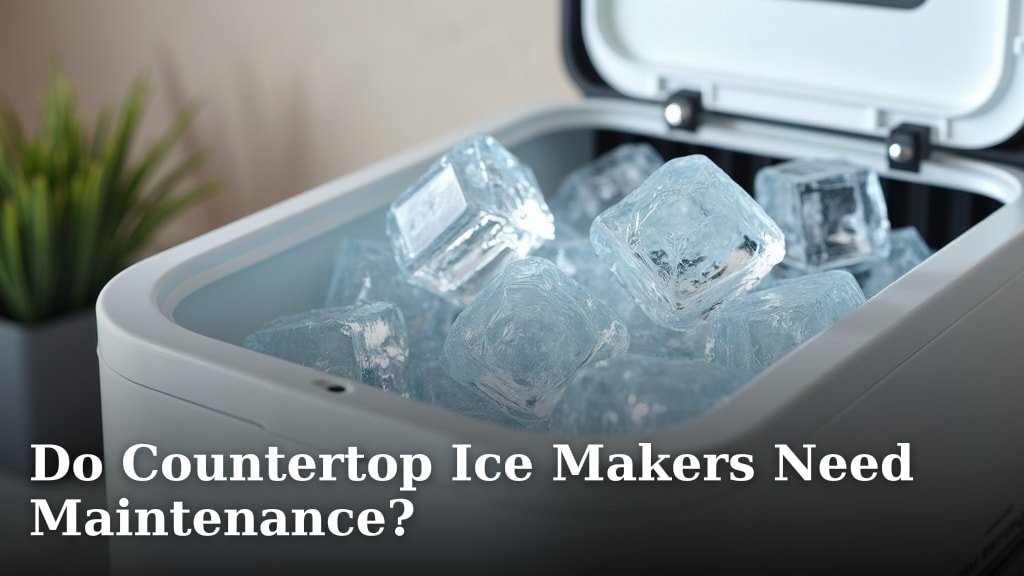
Yes, your countertop ice maker absolutely needs regular maintenance to keep it working well. Without it, you might notice slower ice production or even strange odors. Keeping it clean ensures you get pure, great-tasting ice every time.
Think of it like any other kitchen appliance you use daily. Just as your coffee maker needs cleaning, so does your ice maker. We found that routine cleaning prevents mineral buildup and keeps the water tasting fresh. It’s an important step for optimal performance.
- Countertop ice makers require maintenance.
- Cleaning prevents buildup and odors.
- Regular care ensures pure, fresh-tasting ice.
- It’s key for consistent ice production.
- Maintenance is generally straightforward.
Let’s walk through exactly what kind of upkeep your little ice factory needs to keep churning out those cubes.
Caring for Your Countertop Ice Maker: What You Need to Know
So, you’ve got a nifty countertop ice maker. It’s a little workhorse, churning out cubes for your drinks. But does it need TLC? Absolutely. We found that regular maintenance is key to keeping it running smoothly and producing clean, fresh ice. Skipping this step can lead to problems down the road.
Why Routine Care is Essential for Your Ice Maker
Think about it: your ice maker is constantly interacting with water. Over time, minerals from that water can build up. This is much like how a coffee maker can get scale. This buildup, often called limescale, isn’t just unsightly. It can actually affect how well your machine works. We’ve seen that mineral deposits can clog tiny parts and slow down ice production. Plus, standing water can start to develop odors.
Preventing Mineral Buildup
The primary reason for maintenance is to combat mineral deposits. Your tap water contains minerals like calcium and magnesium. These minerals don’t evaporate with the water. They get left behind, forming that familiar white film or crust. This scale can harden over time. It can interfere with the cooling elements and the water flow. Many experts point to regular descaling as the best way to combat this (CDC).
Ensuring Ice Purity and Taste
Nobody wants ice that tastes or smells funny. That’s where cleaning comes in. If the machine isn’t clean, mold or bacteria can start to grow. This can transfer to your ice, affecting its flavor. We found that a clean machine makes for purer tasting ice. It’s about more than just looks; it’s about quality.
Maintaining Optimal Performance
A well-maintained ice maker works better. It produces ice faster and more consistently. When parts are clean and free of obstruction, the entire process runs more efficiently. Your machine won’t have to work as hard. We’ve learned that this means a longer lifespan for your appliance too. It’s about keeping it in tip-top shape.
Understanding Different Types of Ice Maker Maintenance
There are two main types of upkeep you’ll need to do. These are routine cleaning and periodic descaling. They address different issues. Both are important for your machine’s health. You’ll want to get into a rhythm with both.
Daily/Weekly Cleaning Steps
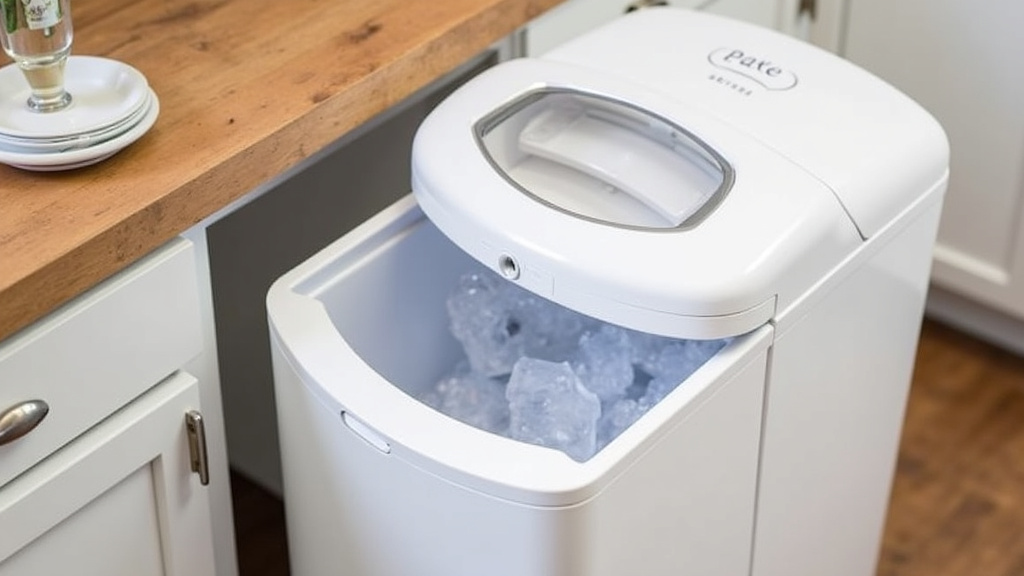
This is your quick-clean routine. It’s about keeping things fresh. You’ll want to wipe down any visible surfaces. This includes the ice bin and the exterior. If you’re not using the machine for a day or two, it’s a good idea to empty any standing water. This prevents stagnation. Many users find a simple damp cloth works well.
Monthly Descaling Process
This is a deeper clean. It tackles that mineral buildup we talked about. Descaling uses a special cleaning solution or a vinegar mixture. This solution circulates through the machine. It dissolves the limescale. We found that most manufacturers recommend descaling at least once a month. This frequency can change depending on your water hardness.
How to Clean Your Countertop Ice Maker: A Step-by-Step Guide
Cleaning your ice maker isn’t rocket science. Most models have straightforward cleaning cycles. Always check your owner’s manual first. It will have specific instructions for your unit. But generally, the process involves a few key steps. This guide covers the common method.
Step 1: Safety First! Unplug and Empty
Before you do anything, unplug the ice maker from the power outlet. This is for your safety. Next, remove all the ice from the bin. You can discard it or use it elsewhere. Then, drain any water from the reservoir. Some machines have a drain plug. Others you might need to tip carefully. Make sure there’s no standing water left inside.
Step 2: Prepare Your Cleaning Solution
You have a couple of options here. You can buy a specific ice maker cleaning solution. These are formulated to be effective and safe for the machine. Many experts suggest these solutions (Mayo Clinic). Alternatively, you can create a DIY solution. A common mixture is one part white vinegar to two parts water. This is a cost-effective method.
Step 3: Run the Cleaning Cycle (If Available)
Many modern ice makers have a dedicated “Clean” or “Self-Clean” button. If yours does, add your chosen cleaning solution to the water reservoir. Then, press the button to start the cycle. The machine will circulate the solution. It will clean the internal components. This cycle usually takes about 15-30 minutes. Refer to your manual for exact timings.
Step 4: Manual Cleaning of Removable Parts
While the cycle runs, or if your machine doesn’t have one, you’ll want to clean removable parts. This includes the ice bin and any scoops. Wash these in warm, soapy water. Rinse them thoroughly. Dry them completely before putting them back. We found that using a soft cloth or sponge is best. Avoid abrasive scrubbers.
Step 5: Thorough Rinsing is Crucial
After the cleaning cycle finishes, or if you cleaned manually, you must rinse the machine thoroughly. Drain all the cleaning solution. Then, fill the reservoir with fresh, clean water. Run a full ice-making cycle with just water. Discard the ice produced during this rinse cycle. Repeat this rinsing process two or three times. This ensures no cleaning solution residue remains. This is vital for pure-tasting ice.
When to Descale and How Often?
The frequency of descaling depends on a few factors. The most important is the hardness of your water. If you have very hard water, you’ll need to descale more often. Many manufacturers suggest descaling every 1 to 3 months. We found that if you notice slower ice production or visible scale, it’s definitely time to descale. Paying attention to your machine’s performance is the best indicator.
Signs Your Ice Maker Needs Descaling
Are you seeing white, chalky deposits inside the machine? Is the ice production noticeably slower than usual? Do you detect any unusual smells or tastes in the ice? These are all clear signs that mineral buildup is happening. Your ice maker is telling you it needs a good descaling session. Don’t ignore these signals.
Cleaning Tips for Different Ice Maker Parts
Let’s break down how to clean each part properly. This ensures a thorough job. Each component has its own needs.
The Water Reservoir
This is where the magic starts. You’ll want to keep it clean. After each use, if possible, wipe it dry. When you’re descaling, the solution will clean it. For regular cleaning, a quick wipe with a damp cloth can help. We found that ensuring it’s dry prevents mold growth.
The Ice Bin and Scoop
These parts come into direct contact with your ice. They need to be clean. Wash them regularly with warm, soapy water. Make sure to rinse them well. A dishwasher might be an option for some bins, but always check your manual. Drying them completely is important before returning them to the machine.
The Exterior Surfaces
Don’t forget the outside! A quick wipe-down with a damp cloth keeps your ice maker looking nice. This also prevents dust and grime buildup. For stainless steel finishes, use a cleaner specifically designed for that material. We learned that keeping the exterior clean is a simple step that makes a big difference.
Troubleshooting Common Ice Maker Issues
Sometimes, even with maintenance, you might run into problems. Here are a few common ones and how cleaning can help.
Slow Ice Production
This is often a sign of mineral buildup. The sensors or water lines might be partially blocked. A thorough descaling should resolve this. If not, check that the water filter (if you have one) is clean or needs replacing.
Noisy Operation
Strange noises can sometimes be related to mineral deposits. They can cause parts to grind or vibrate differently. Regular cleaning can smooth out the operation. It can also be a sign that the fan or pump is having an issue.
Ice Smells or Tastes Off
This is almost always a cleaning issue. Stagnant water, mold, or bacteria are the usual culprits. Make sure you are draining water regularly and descaling as recommended. We found that thorough rinsing after cleaning is key to eliminating odors.
Maintenance Checklist for Your Ice Maker
To make things easy, here’s a quick checklist to keep your ice maker in great shape:
- Weekly: Wipe down exterior surfaces. Empty and dry the ice bin.
- Monthly (or as needed): Perform a full descaling cycle.
- As needed: Clean removable parts (ice bin, scoop) with soap and water.
- After Cleaning: Always run 2-3 rinse cycles with fresh water.
- Check Water Filter: If your model has one, check or replace it according to the manual.
- Drain Water: If not in use for more than a day, drain standing water.
Following these simple steps will help ensure your countertop ice maker keeps serving you perfectly chilled cubes for years to come. It’s about giving your appliance the attention it deserves!
Conclusion
Your countertop ice maker is a fantastic convenience, but it’s not a set-it-and-forget-it appliance. We’ve seen how regular cleaning and descaling are essential for producing pure, fresh-tasting ice and keeping your machine running efficiently. Neglecting maintenance can lead to slower production and even affect the quality of your ice. Make a habit of these simple care steps. Your first step today should be to check your owner’s manual for any specific cleaning recommendations for your model.
Frequently Asked Questions
How often should I really clean my countertop ice maker?
You should aim for a light cleaning weekly, which includes wiping down surfaces and drying the ice bin. A deeper descaling clean is usually needed monthly, but this can increase if you have hard water. Watching for signs like slower ice production is also a good indicator.
Can I just use soap and water to clean everything?
Soap and water are great for removable parts like the ice bin and scoop. For internal cleaning, especially to tackle mineral buildup, you’ll need to use a descaling solution or a vinegar/water mix as outlined in your manual. Always rinse thoroughly after any cleaning.
What happens if I never clean my ice maker?
If you never clean it, you’ll likely experience mineral buildup, which slows down ice production and can eventually clog parts. Stagnant water can also lead to mold or bacteria growth, affecting the taste and smell of your ice. Your machine may also have a shorter lifespan.
Is there a difference between cleaning and descaling?
Yes, there is. Routine cleaning involves wiping down surfaces, emptying water, and washing removable parts to keep things fresh. Descaling is a deeper process using a solution to break down and remove mineral deposits (limescale) from the internal components and water lines.
Can I use tap water or should I use filtered water?
You can use tap water, but be aware that minerals in tap water contribute to limescale buildup, meaning you’ll need to descale more frequently. Using filtered water can help reduce the mineral content and extend the time between descaling sessions.